I made a picnic blanket.
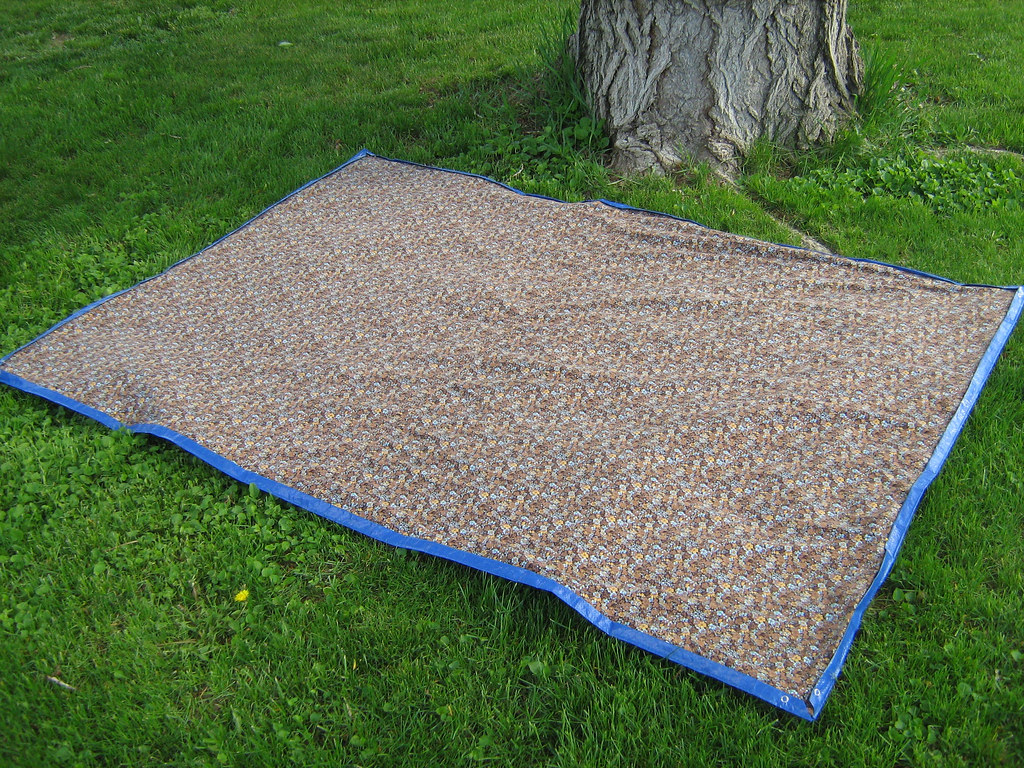 This picnic blanket features a water resistant layer to protect your tush from wet grass and a removable fabric layer for easy cleaning. Not only did I make this picnic blanket, I wrote up a tutorial so you can make one too.
Materials Needed:
9 1/3 Yards Fabric (I used 40" wide flannel)
Thread to Match Fabric
5.5' x 7.5' Tarp
26 size 16 Snaps
Yard Stick/Measuring Tape & Small Ruler
Pins
Sewing Machine
Iron
Sharpie/Pen
Snap Tool & Hammer
How to make your own:
Before starting wash and dry your fabric.
Your measurements may vary from what is listed below.
Step One - Cut the Fabric
Measure and mark half the length of the fabric (approximately 5 feet or 60 inches).
Cut. You should now have two pieces of fabric each measuring about 40"x60".

Step Two - Join the Fabric Pieces
Note: There is no need to use topstitching thread as suggested in the tutorial; regular thread will be fine.
The finished seam will look like a side seam on jeans.
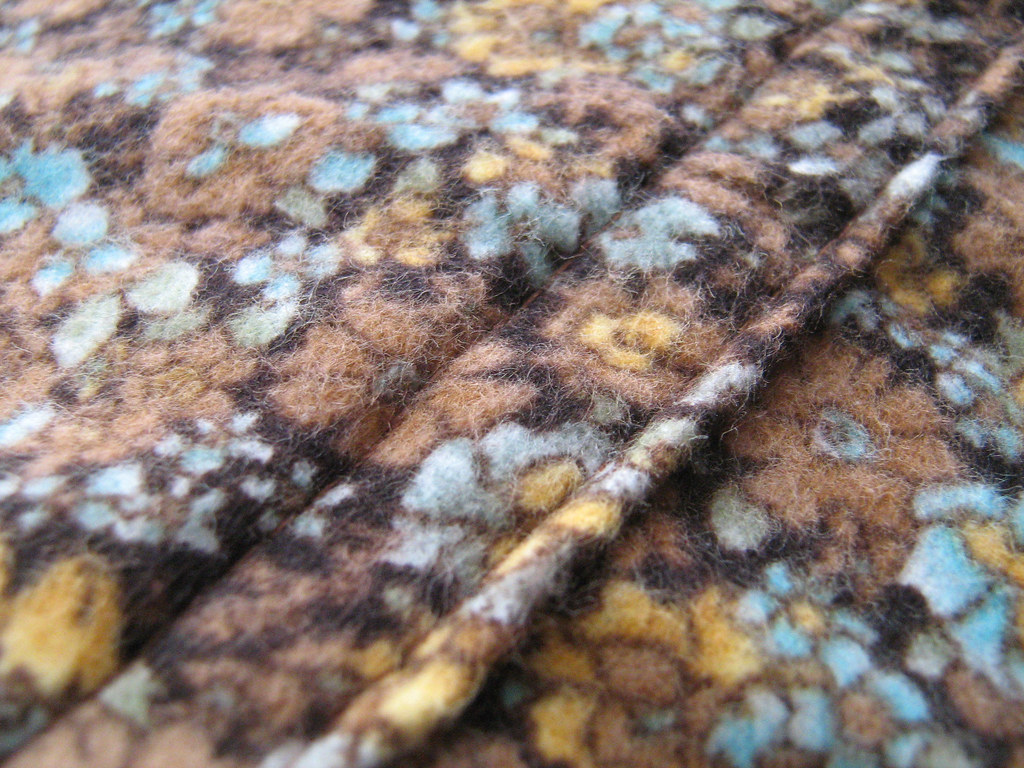
Make a 3/4" double fold hem around all edges.
You are now finished sewing the fabric portion of the picnic blanket.
Step Four - Cut the Tarp
Measure and record the dimensions of the fabric portion of the picnic blanket. My dimensions are 56" x 76".
Add 4 inches to each dimension; this will be the dimensions of the tarp portion of the picnic blanket.
Measure and mark the new dimensions on your tarp. I suggest using a sharpie to mark on the tarp.
Note: DO NOT use the portion of the tarp with the grommets; start you measurements a few inches in from the edges.
Cut. Your tarp should now be 2 inches larger than your fabric on each side. My dimensions are 60" x 80".
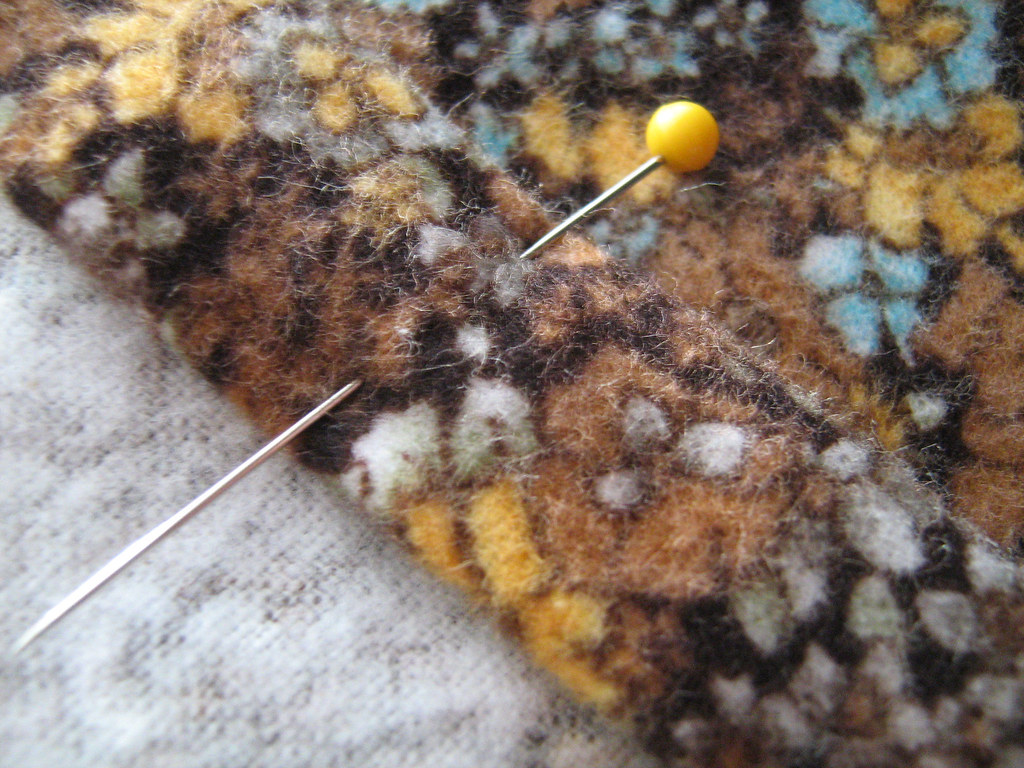
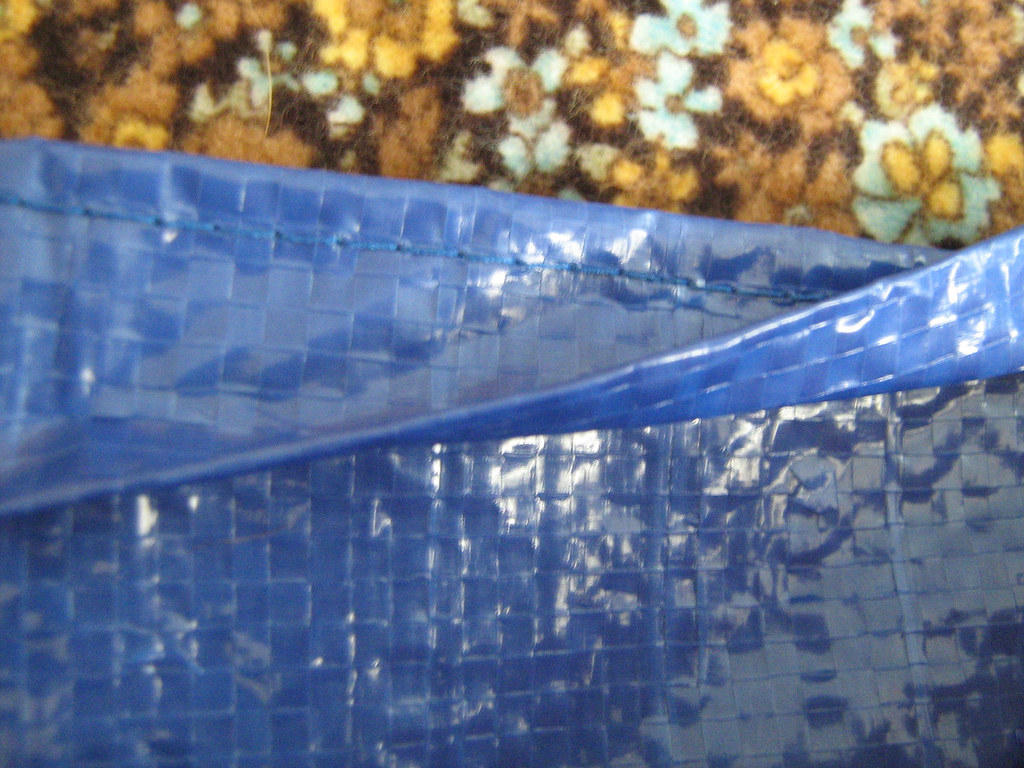
Step Five - Tarp Edging Pin (or tape) the edges of the tarp for a 1" double fold hem.
Note: DO NOT iron the tarp; it will melt to your iron.
Trim the excess layers of tarp at the corners as shown below.

Stitch at 1/8" from folded edge to make a flap; DO NOT sew the flap shut. The edges of your tarp should look like this:
Step Six - Snaps
Insert fabric portion into the tarp portion so the flaps from the tarp cover the fabric hem and pin in place.
Measure and mark snap placement on both the tarp (on the flap) and fabric (in the hem). Each end of each side should have a snap; place these snaps approximately two inches from the ends. Additional snaps should be placed along each side 8 to 12 inches apart. My snaps are placed at 2", 12", 22", 34", 44", and 54" along the short side and 2", 14", 26", 38", 50", 62", and 74" along the long side.
Note: It is important that the placement of the snaps mirror each other for each half of each side and also on corresponding sides. This will make it easier to replace the fabric portion after cleaning.
Hint: When placing the snaps use a hammer with the snap tool; it will give enough pressure to get through all the layers of fabric/tarp.
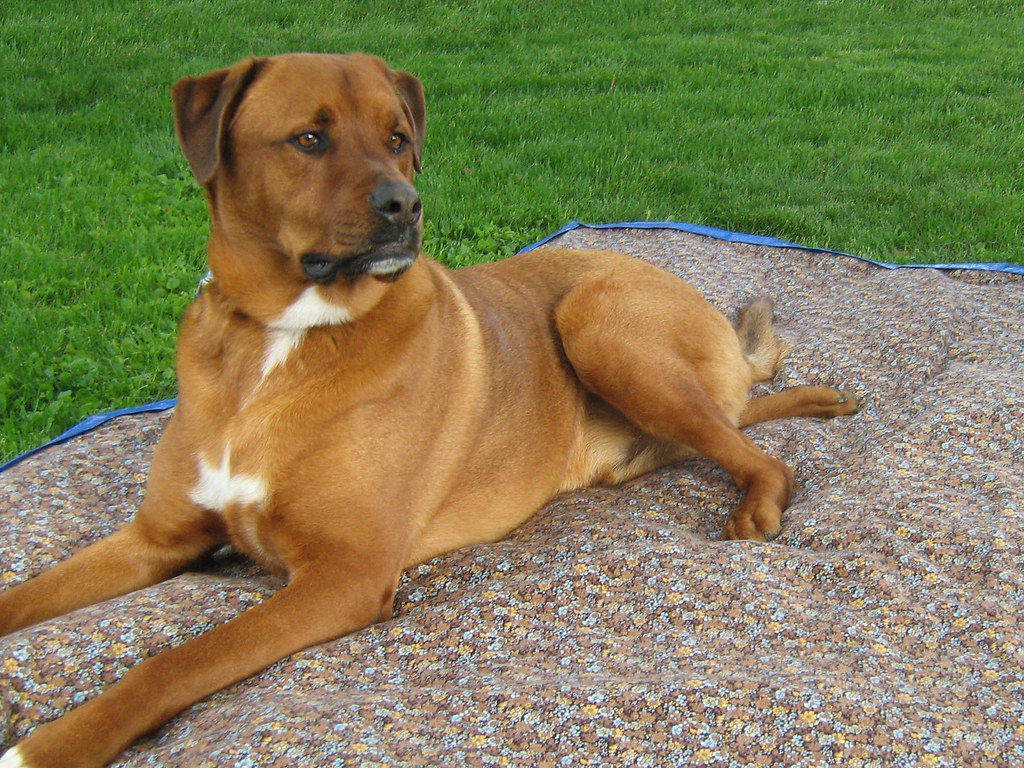
You are done! Now you can enjoy your new picnic blanket.


 If you want to make these yourself follow these tutorials from Etsy Labs.