
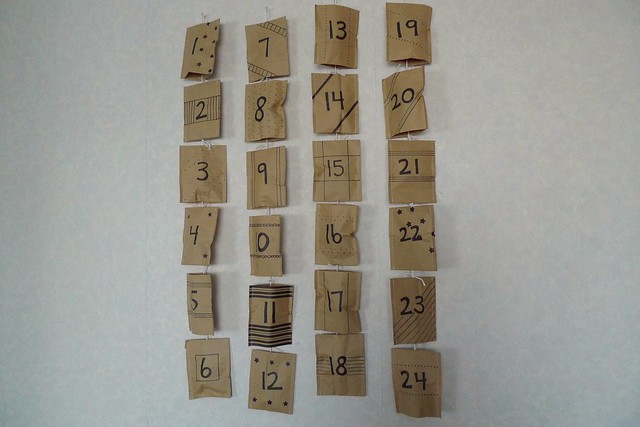
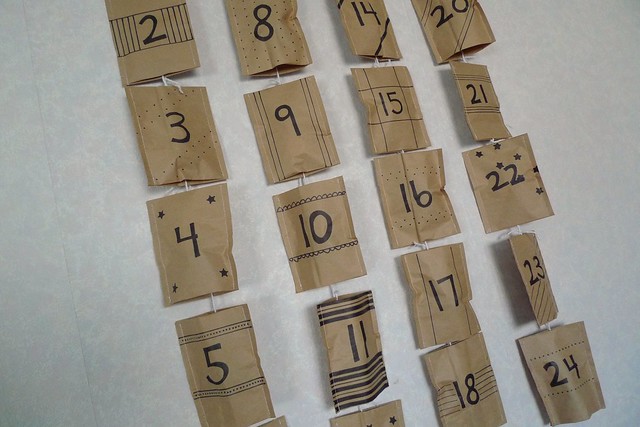
The first one I made has the pouches hung vertically. I originally had them in a single chain, but it was ridiculously long so I had to make it four shorter chains. The second calendar is hung horizontally; each row uses a single string of yarn to hold it up.
DIY Paper Bag Advent Calendars
Materials:
12 Paper Lunch Bags
Scissors
Ruler
Pencil
Sewing Machine & Thread
Sharpie/Markers/Other Decorative Items
24 Treats
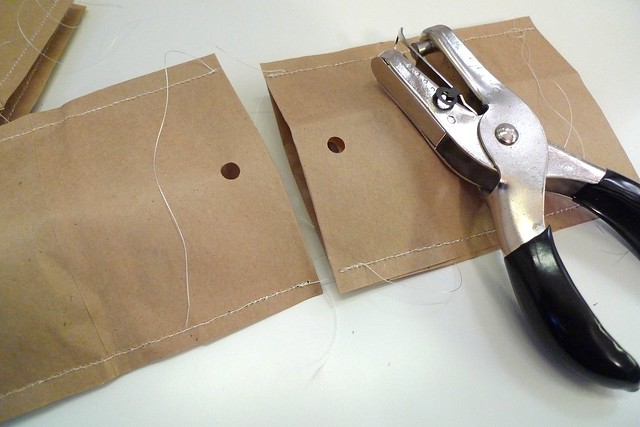
Hole Punch
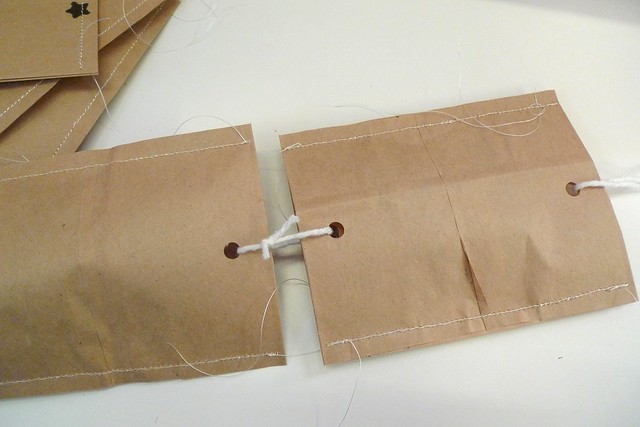
Yarn or String
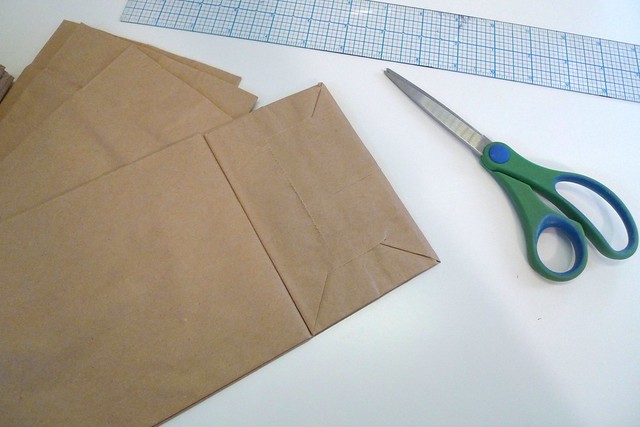
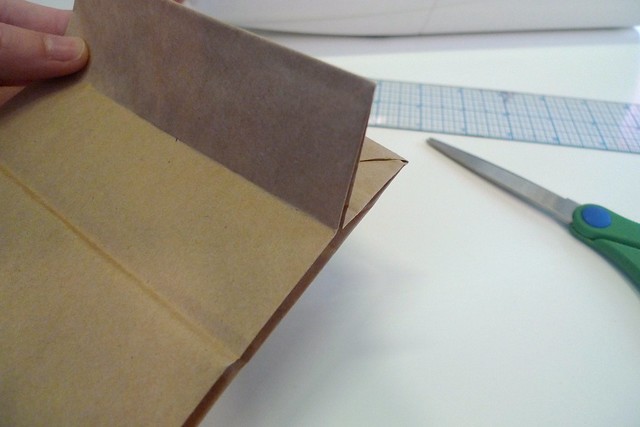
Begin by cutting off the bottom of the paper bag: fold back the overlapping flap then cut along the fold.
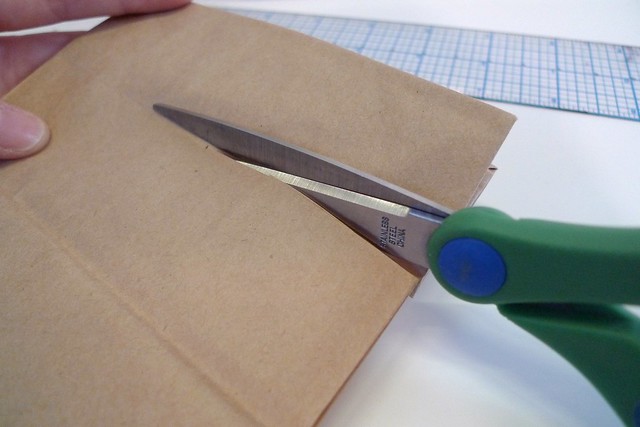
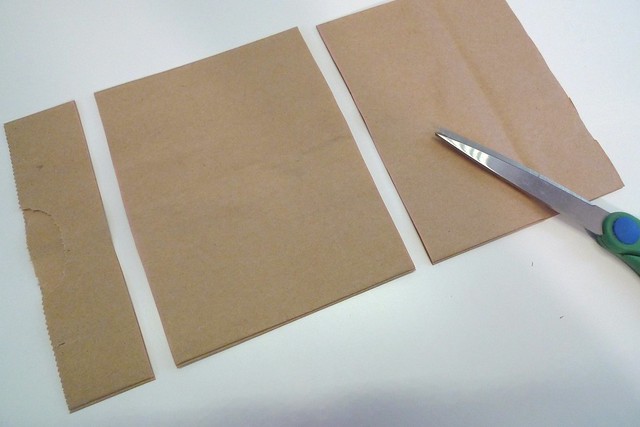
Measure and mark at four inch intervals along the length of the bag, draw straight lines connecting the four inch marks and then the eight inch marks. Cut along these lines keeping the two four inch sections (these will become your pouches) and disposing of the small section.
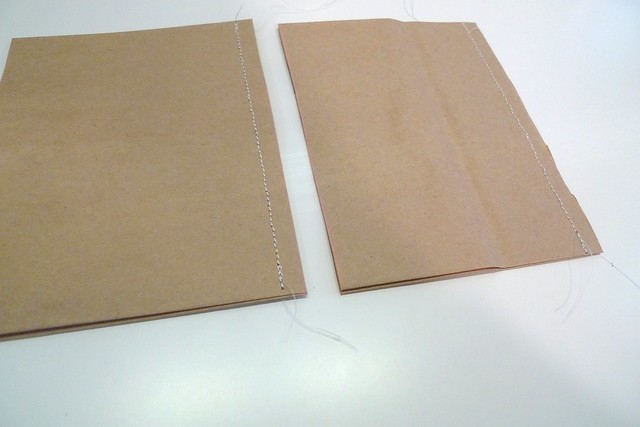
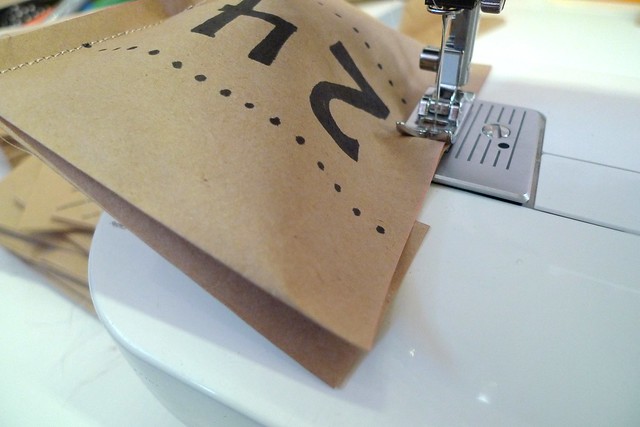
Using a sewing machine and thread stitch one of the cut sides closed on each pouch.
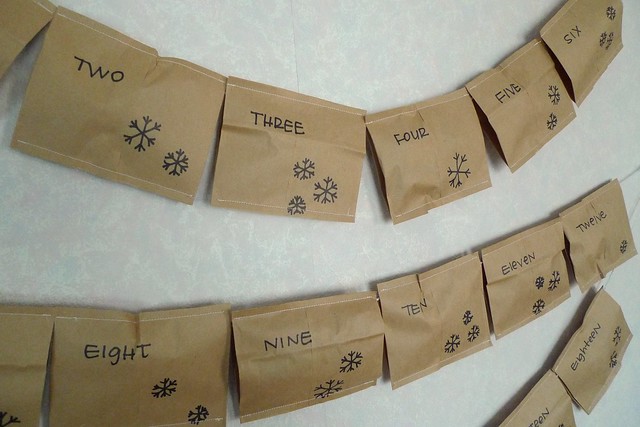
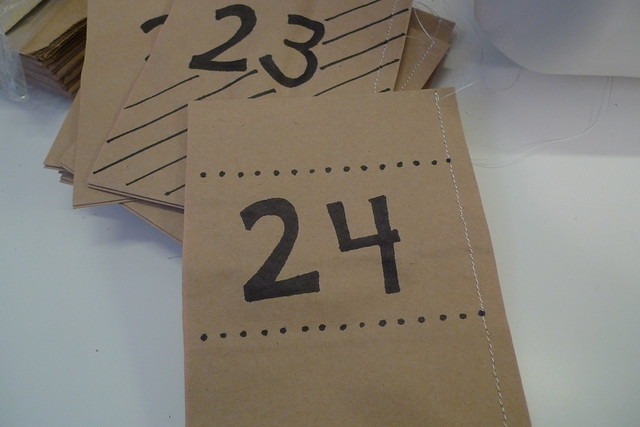
Decorate your pouches!
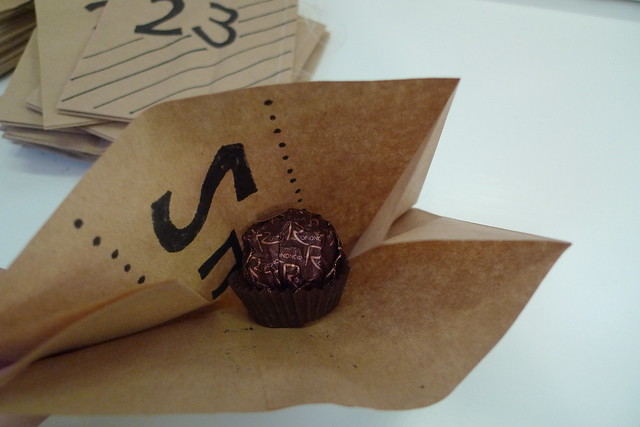
Fill each pouch with a treat then stitch the open side closed using a sewing machine and thread.
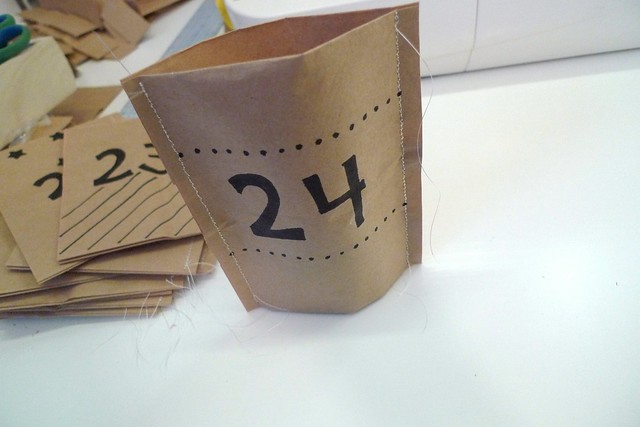
The closed pouches should be able to stand on their own if you open up the top and bottom folds. The calendar could be arranged to stand on a shelf as is or use a hole punch to punch holes on the back part of the pouches. Use yarn or string to secure pouches to each other.
Trim all the threads and hang the calendar to count down to Christmas!
It's beginning to look a lot like Christmas...
ReplyDeleteI can't wait for my countdown and treats!!!
ReplyDelete