

When making the first one of these I had a bit of trouble because I tried using one piece of fabric and folding over the hem, but since the diameter is so small that method was not working. I realized I needed to use two fabric rounds and sandwich the elastic between; it worked like a charm so I decided to make a quick tutorial!
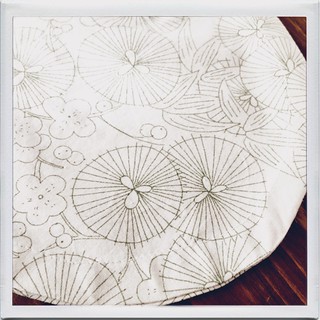
First, you will need a bit of fabric, elastic, and some basic sewing tools (thread, needle, etc...). Begin by determining the size of your jar and the fabric rounds. My jar top was 3.75"; after rounding up to 4", adding 0.5" seam allowance, 0.75" for elastic casing (I used 0.5" elastic), an extra 0.5" so it would sit below the lip, and multiplying those extras by two to account for both sides of the cover I drew a 7.5" diameter circle and cut out two. My general recommendation is to add 3.75" to you jar diameter if you are using 0.5" elastic.

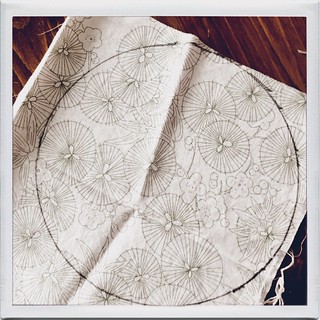
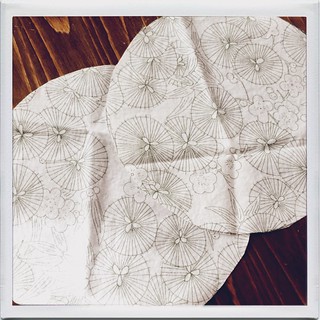
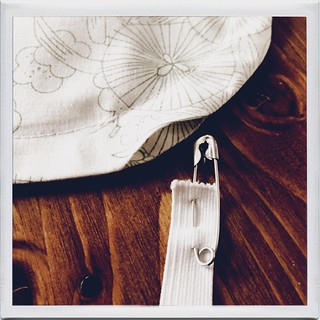
After doing the math and cutting out two rounds you will take one of them and add in "guide" stitches at 0.5" an then 1.25" (there will be a 0.75" space between the lines). These "guide" stitches are optional, I feel they help me when doing tight circles. With right sides together, stitch the rounds together using a 0.5" seam allowance and leaving an approximately 2" wide opening.
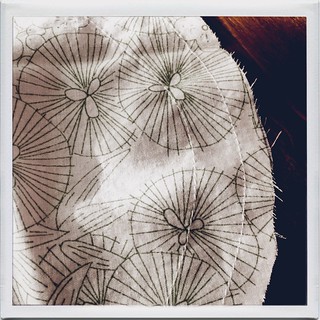
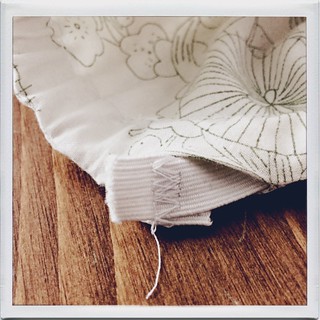
Turn and press your round. Seriously, press the seams, it will make the rest of the steps so much easier. Now that you've got a completely flat round with crisp seams, stitch completely around the edge at 0.75" spacing to define the elastic casing.

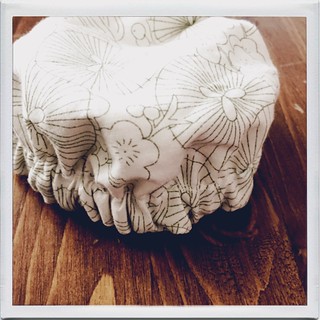
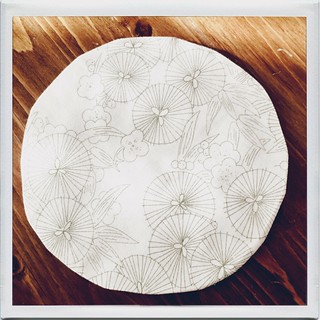
Finish up by closing the open space along the edge of the round then spread out the fabric gathers evenly. You now have a jar cover! Hurrah!
No comments:
Post a Comment
NOTE: To get a faster response avoid commenting as "Anonymous". Your message is less likely to be overlooked as spam if you enter a name!